
Ground Forces Guide: Snipers, Turrets, Mortars, Garrisons
Understand the roles of snipers, turrets, mortar squads, and garrisons without relying on invented stats.
What ground forces are confirmed?
The Steam page names snipers, turrets, mortar squads, and garrisons as specialized ground forces used against the spreading horde. The presskit repeats that list and also mentions upgrading and specializing unit loadouts. Those are the confirmed categories.
The official pages do not publish damage values, ranges, costs, cooldowns, or a complete roster. Any guide that presents exact numbers without a developer source should be treated cautiously during Early Access. This article therefore focuses on how to think about deployment and combined arms, not on inventing a tier list.
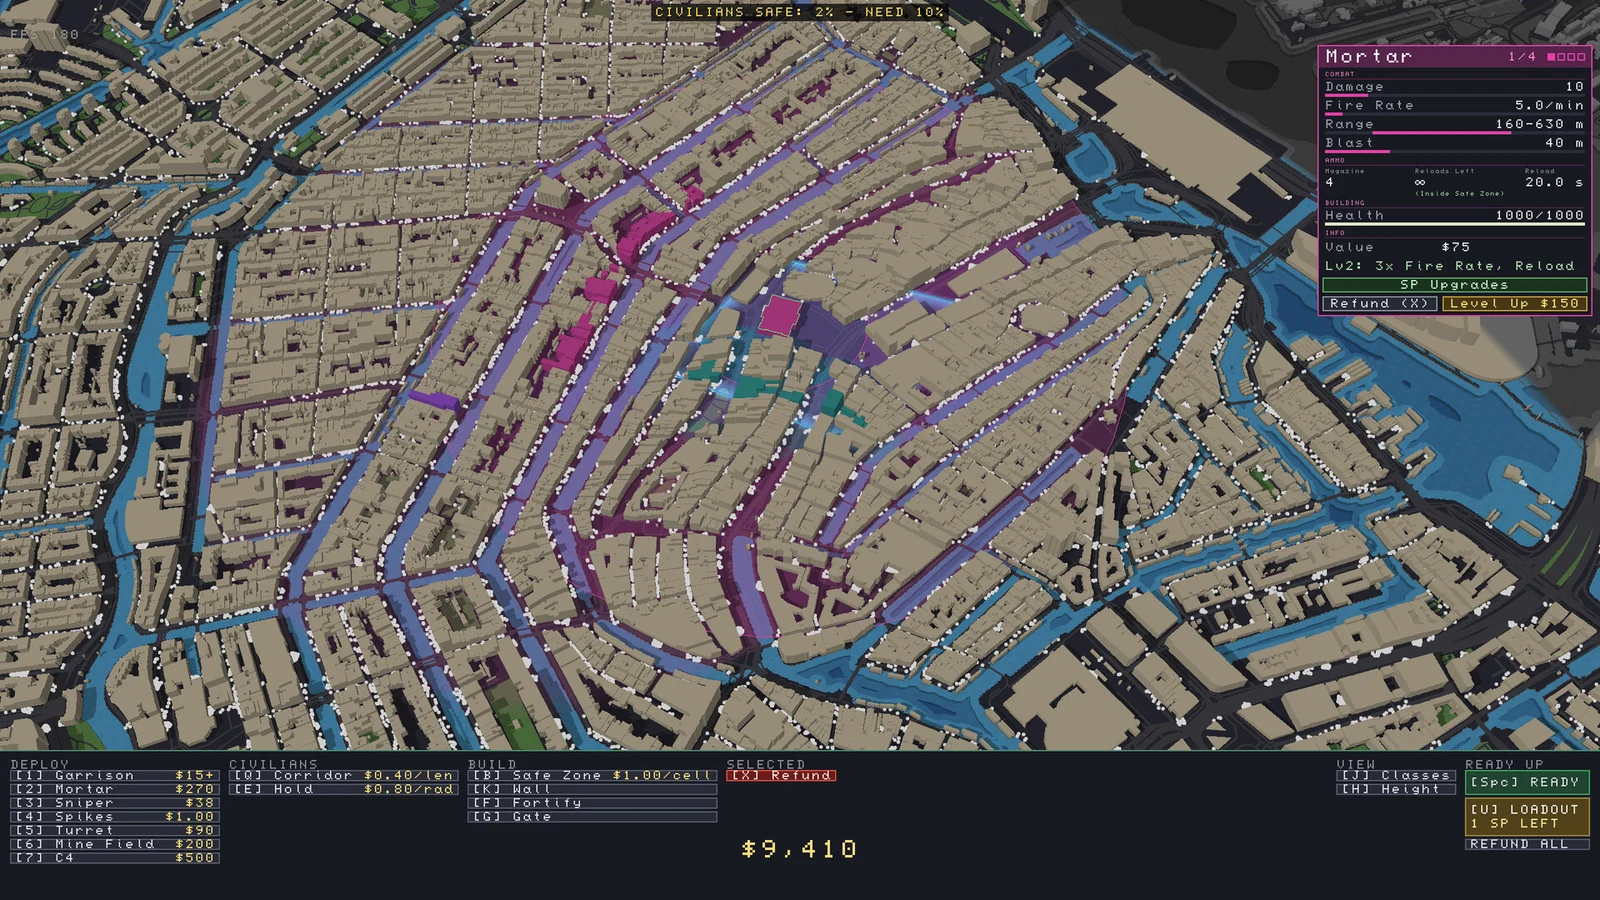
How should you think about unit roles?
Use the roster as a set of complementary jobs rather than four interchangeable purchases. A garrison suggests holding ground. A turret suggests a fixed defensive presence. A mortar squad suggests indirect support against groups. A sniper suggests a more precise answer to a priority target.
Those are planning labels inferred from the names, not published performance claims. The useful question is whether your formation has an answer to a single strong zombie, a dense group, and a sustained push. If every unit serves the same job, the defense may struggle when the threat changes shape.
The defenses guide covers the structures that shape movement. The air support guide covers the emergency layer above them.
Where should ground units be placed?
Place units where they can support one another. A unit alone at the edge of the map may get one useful engagement and then be bypassed. A unit behind a protective line may survive longer but contribute less if the line is never tested. The goal is a layered position with a clear fallback.
Look at streets, intersections, and open approaches when choosing positions. The city’s geometry is more reliable than a generic formation copied from another map.
When should you reposition?
The store page says you can adapt your plan on the fly. Repositioning is part of that promise. If a sector is quiet while another is collapsing, moving a unit may be better than purchasing another one. Do not wait for a complete breakthrough before deciding that the original layout is wrong.
Repositioning has a cost in time and exposure. Make the move before the infection reaches the destination if possible, and keep the unit’s new role clear. A unit moved without a plan can end up contributing to neither front.
How do loadouts and upgrades fit in?
The presskit says players can upgrade and specialize unit loadouts. The official material does not provide a full upgrade tree or claim that one specialization is universally best. Treat upgrades as a way to reinforce the job you already need, not as a substitute for a coherent layout.
If a position is doing essential work, improving it may be more valuable than diversifying. If the defense has a clear gap, a new capability may matter more than another enhancement to an already stable sector. Test one change at a time and compare the result across runs.
What should you avoid?
Avoid copying exact build orders from unverified sources. Avoid assuming that a unit’s name guarantees a specific range or damage profile. Avoid spending all available resources on one dramatic position while civilian areas remain unprotected.
Start with the beginner guide for the overall loop, then use the civilian protection guide to decide what the ground forces are defending. A formation is only useful if it supports the mission’s actual scoring objective.
Sources
Related Articles
guides
Zombies Aren't Real Beginner Guide: Plan, Deploy, Adapt
Plan the first outbreak, place a workable defense, and learn when to restart in Zombies Aren't Real.
guides
Zombies Aren't Real Co-op Guide: One Friend, Clear Roles
Make one-friend online co-op easier with clear roles, shared priorities, and a practical restart routine.
guides
Zombies Aren't Real Defense Strategy: Protect More Civilians
Build a practical defense strategy in Zombies Aren't Real with safe zones, covered approaches, evacuation routes, and air support.
Was this helpful?
Thanks for the feedback!