
Zombies Aren't Real Miami Map Guide
Explore a player's Miami level strategies, including bridge defenses, paratrooper reserves, failed attempts, and results.
How can you defend Miami’s bridges?
In one Miami playthrough by Lord Windmill, the player used walls and garrisons around crossings, then dropped paratroopers where outbreaks appeared. On level 2, some zombies hit a wall while others chased civilians; the player sent paratroopers to a bridge and reported the area contained. The planned militia activation did not happen in that attempt. Watch the setup and outcome.
This guide summarizes the player’s commentary in the supplied automatic captions, not our own playtest or a frame-by-frame review. Spawn locations changed between attempts; exact placements, game build and difficulty are not established by the captions. Use these examples to plan and adapt, not as a fixed winning layout.
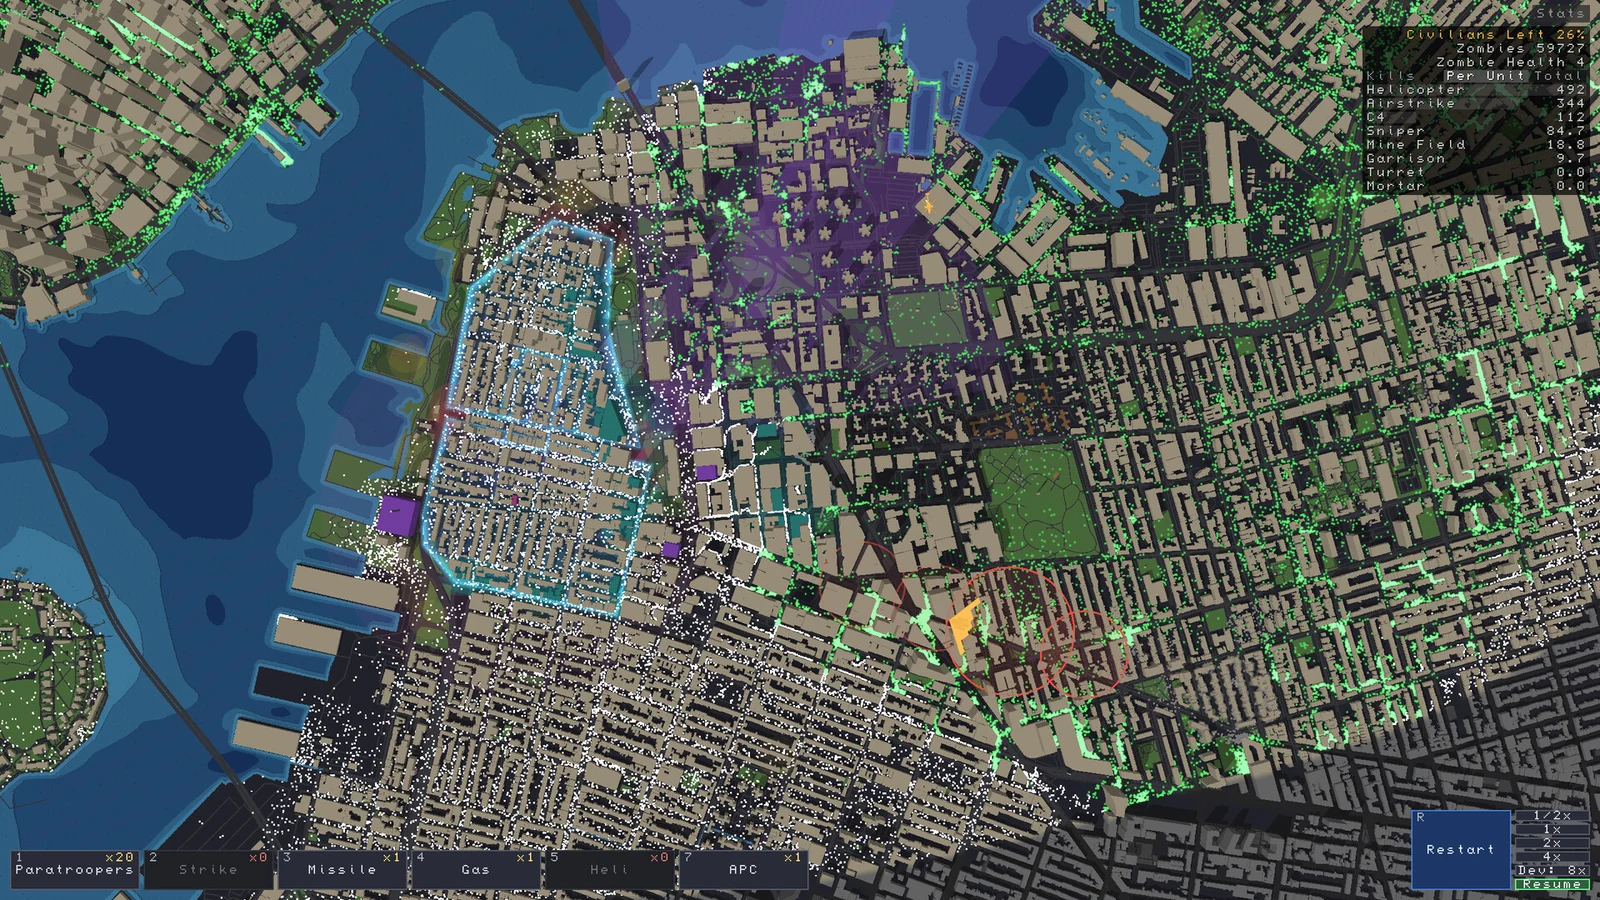
For the underlying systems, see safe zones, Evac Corridors and the beginner guide. The image is a general game screenshot; it is not evidence of this Miami setup.
What happened in Miami levels 1 and 2?
Level 1: The player planned two safe zones near bridges and garrisoned buildings. After seeing outbreaks on both sides, they realized they had forgotten gates and restarted to add them. In the second attempt, paratroopers helped stop one outbreak, but another area was lost; the player reported a 37% result. Planning and restart: 00:50–03:04; outcome: 03:34–04:26.
Level 2: The player described three safe zones, turrets and garrisons, walls across all but one bridge, and a broadcast/militia setup involving two police stations. They reserved paratroopers, deployed more at a bridge, and used Rally. Turrets handled some outbreaks; zombies hit a wall but mostly chased people, and the militia setup did not activate. The player celebrated a high result, but the automatic caption at the result is garbled, so its exact percentage is not reliable. Setup: 04:35; response and result: 06:31–08:14.
What changed after the level 3 attempt failed?
The player kept the earlier safe zones, added another, and planned to combine walls, garrisons, paratroopers and helicopters. On the first attempt, outbreaks appeared on several islands; the player tried to cover approaches with paratroopers, but the plan went wrong and they restarted. First attempt: 08:21–12:51.
For the retry, the player said they moved resources from turrets into more bridge garrisons and filled gaps with paratroopers. They also received a different outbreak pattern. Helicopters, garrisons, paratroopers and militia contributed according to the commentary, and the player reported 55%. The changes and the different spawns occurred together, so the captions cannot establish which caused the better result. Retry: 13:00; defense and result: 15:32–17:47.
What went wrong in level 4?
After seeing the outbreaks, the player changed their intended focus, used paratroopers and helicopters, and deployed an APC at a bridge. Some zombies slipped through, and the player reported swimmers. Militia ran back and forth because the player had not put gates in the walls; later, they regretted spending reserves and said troops arrived too late. The player said the level was passed, but the final percentage is unclear in the captions. Changed plan: 18:49; leaks and missing gates: 21:24–22:53; result: 24:23–25:08.
How did the player approach level 5?
After level 4, the player chose to concentrate on a smaller area, describing bridge walls, mines, safe zones and broadcast-enabled police stations. They kept paratroopers in reserve, deployed helicopters to thin hordes, and later used firebombs. They again noticed a missing gate and dropped troops inside; militia also appeared during the battle. The player reported 30% saved at the end. Revised plan: 25:14; reserves: 27:57; firebombs: 32:09; missing gate: 34:29; result: 36:35.
The player later recommended a two-police-station broadcast/militia combination and allowing a zone to fall to gain troops. That is their interpretation of this run, not a verified rule or a promise that sacrificing a zone will improve your result. Player’s closing explanation: 36:55.
Source and limitations
Lord Windmill, Saving Miami Episode 2, November 14, 2026. The supplied English automatic captions contain repetition and possible recognition errors. This article relies on the player’s spoken account; it does not identify exact map locations, costs, starting objectives, or unspoken actions. No independent gameplay test was performed.
Related Articles
guides
Zombies Aren't Real Boston Map Guide
Plan Boston defenses with a player's five-level campaign example, including paratrooper containment, retries, and reported results.
guides
Zombies Aren't Real Custom Maps and Steam Workshop
Learn what Steam confirms about custom city maps, the level editor, and Workshop entries, plus what remains untested.
guides
Zombies Aren't Real Beginner Guide: Plan, Deploy, Adapt
Plan the first outbreak, place a workable defense, and learn when to restart in Zombies Aren't Real.
Was this helpful?
Thanks for the feedback!